Preparing your 3D Files for AR viewing

SENAR WalkIn is designed for professionals who require a streamlined solution for visualizing and sharing their 3D models both in a web browser and in Augmented Reality (AR) on a smartphone or tablet.
This article aims to guide you through preparing your 3D files, ensuring they are compatible with SENAR WalkIn's visualization capabilities.
Supported File Formats
SENAR WalkIn supports a variety of 3D file formats including textured FBX, GLB, USDZ, and zipped OBJ files. Each format has its own set of guidelines that need to be followed for optimal rendering in AR.
General Guidelines (Applies to all formats)
- Ensure your model is built to the correct scale.
- Place your object at the origin (0.0.) coordinate system in the scene.
- Ensure the base of your model (e.g., the floor of the house) aligns with ground level. Do not place the model on a raised platform.
- Locate the pivot point at the center of the model.
- Convert TGA textures to PNG.
FBX files
- Make sure that the textures are embedded within the 3D model file.
- Remove all unused textures from the file. Even a single unnecessary texture can cause glitches in AR rendering.
OBJ files
Formats that reference external files (such as OBJ) need to be uploaded as a .ZIP file containing, at the root level:
- only one .obj
- the .mtl file
- a separate directory containing all the textures.
In order to load the external files correctly, care should be taken to ensure that the paths to external files are relative.
Export a 3D model from SketchUp
If you are a SketchUp user, please read this article that provides step-by-step instructions on exporting 3D models for SENAR WalkIn properly.
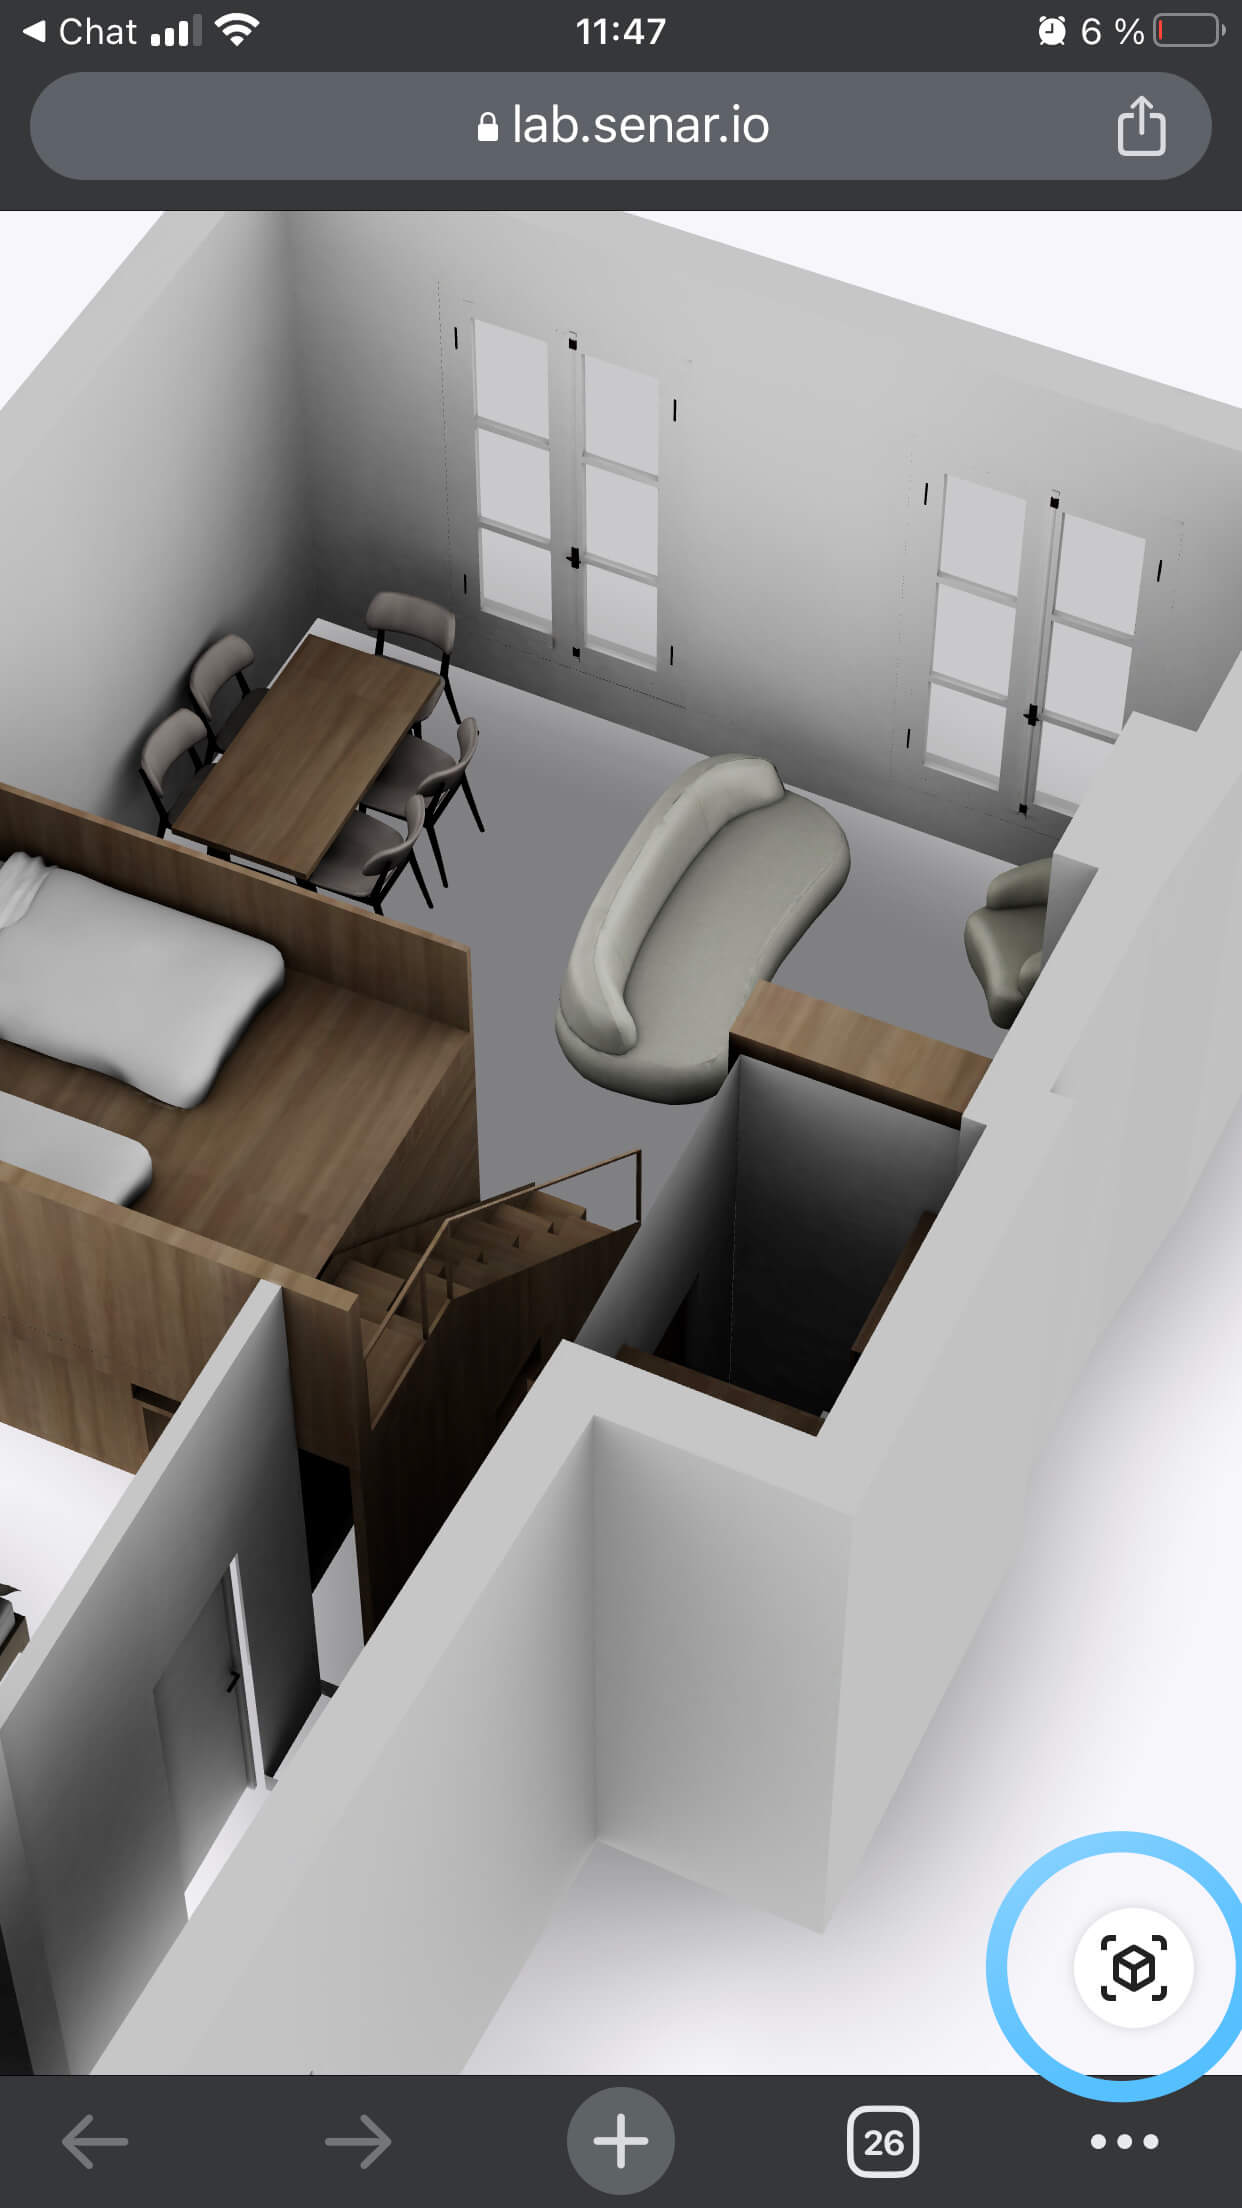
Viewing your processed 3D Model
Once your 3D file is processed through SENAR WalkIn, it can be viewed in two ways:
- Web Browser.
- AR Viewing: Open the URL processed by SENAR WalkIn on a compatible smartphone or tablet (list of compatible devices available here). Then tap the AR icon at the bottom right corner.